Free Shipping
Free Shipping over $80*
On orders over $80*
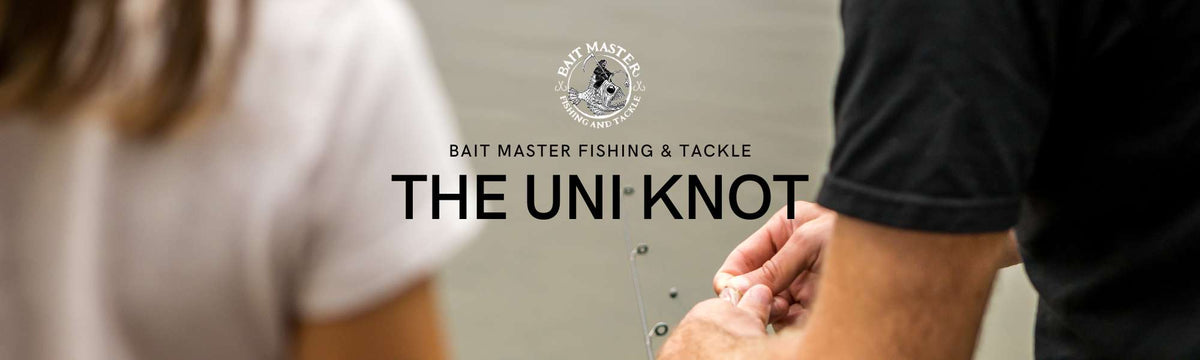
The Uni Knot is one of the most versatile and robust knots used in angling, and it's a knot every good fisho should know. This fishing knot is celebrated for its strength and reliability, making it a favourite among fishing beginners to professionals. Whether you're new to the Uni Knot or looking to refine your knot-tying skills, this tutorial is perfect for you!
Also known as the Hangman's Knot, the Uni Knot is a type of fishing line knot commonly used for fastening line to hooks, lures, or swivels. The knot's adaptability means it can be used in many different fishing scenarios, making it a vital part of any angler's skillset.
Several reasons contribute to the popularity of the Uni Knot among anglers:
Versatility Suitable for almost any fishing situation, the Uni Knot is your go-to whether you're securing a hook or attaching two lines.
Strength A properly tied Uni Knot maintains a high line strength, minimising the risk of the knot slipping or breaking when under pressure.
Simplicity While it might seem complex initially, tying a Uni Knot is straightforward with a bit of practice.
Here's your step-by-step guide to tying the Uni Knot:
Voila, your perfectly tied Uni Knot is ready!
The Uni Knot, with its blend of strength, versatility, and simplicity, is a formidable tool in any angler's arsenal. Mastering the Uni Knot can enhance your angling game, leading to more successful fishing experiences.
We hope you find this knot tying guide useful. As always, we'd love to hear about your experiences and tips regarding the Uni Knot in the comments below. Here's to happy and fruitful fishing!
Berkley Fishing - Uni Knot: How to Tie
Rapala - Sufix Knot Tying Guide
